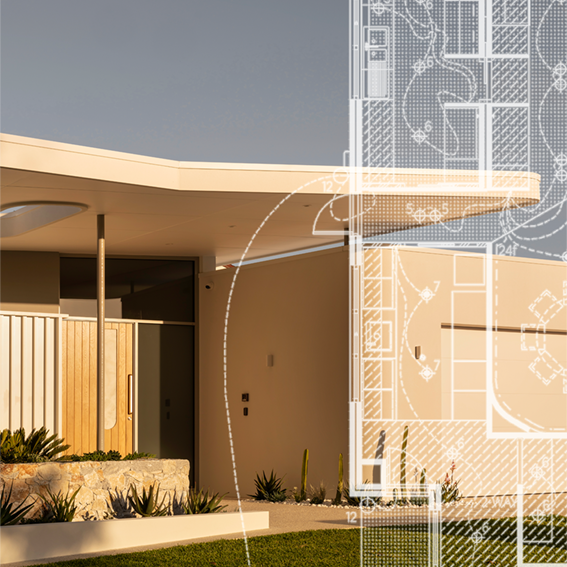
At some point in every new build, your builder hands you an electrical plan: a floor plan overlaid with circles, letters and dashed arcs, and asks you to approve it. In Western Australia this usually happens at the electrical pre-start appointment, often scheduled for an hour. What you sign in that hour determines where every light and switch will live for decades.
Most people sign it close to as-drawn. Not because the plan is good, but because the document is unfamiliar and the standard inclusions feel safe. Then they move in and start noticing what the plan never considered: the dining table half in shadow, hallway switches at the wrong end, and every room lit by the same even grid of downlights that makes 8pm feel identical to noon. This guide teaches you to read that document properly before pre-start, while changes still cost almost nothing.
Quick Answer
An electrical plan shows every light point, switch and power point as symbols on your floor plan, decoded by the legend box. Check three things: whether light points relate to your furniture (not just the room’s centre), whether task and ambient lighting are switched separately with dimmers where it matters, and whether switches are where your hand will actually be. Changes cost little before rough-in and a fortune after plasterboard.
What This Document Is and When You’ll See It
The electrical plan (also called the electrical layout or lighting plan) marks every electrical point in the home as a symbol, with dashed lines connecting switches to the lights they control. You’ll meet it three times: with your contract documentation as a standard-inclusions layout drawn by formula, at the pre-start appointment where you confirm, move, add and delete points, and at rough-in, when cables are run through the frame and you have your last realistic chance to catch errors before plasterboard.
The cost curve nobody explains: the same change might cost nothing at pre-start, a modest variation fee before rough-in, a significant charge after, and post-handover it means an electrician plus patching and painting, if it’s possible at all. Every hour spent on the plan before signing is worth ten after.
The Symbol Legend, Decoded
Legends vary between builders, so always read the legend box on your own plan first. These conventions cover most Australian residential plans.
| Symbol (typical) | What it means | What to check |
|---|---|---|
| Small circle, often with a cross or marked “DL” | Recessed downlight | Position relative to benches, furniture and walls, not just spacing. |
| Circle on a stem, or marked “P” | Pendant point | Centred on the table or island below it, not the room. |
| Circle with radiating ticks, or “B” | Batten holder (basic fitting) | Decide now if any should become pendants; the wiring position may differ. |
| Half-circle on a wall line, or “WL” | Wall light point | Mounting height noted (commonly 1500 to 1800mm, lower for bedside). Usually needs to be requested. |
| “S” / “S2” | Switch / two-way switch | Correct side of the door swing; two-way in halls, stairs and bedrooms. |
| “D” or “Sd” | Dimmer | Which circuits are dimmed, and dimmer compatibility with the fittings. |
| Dashed line or arc | Switching relationship | Trace every arc: if one sweeps up six downlights, they all switch together. |
| “EF” / “F” or “CF” | Exhaust fan / ceiling fan | Fan switched separately from the light; blade clearance from pendants. |
| Line marked “LED” or “ST” | LED strip run | Under-cabinet, cove or shelf detail; confirm the driver is accessible for service. |
| “GPO” | Power point | Check bedside and bench positions; lamps need power where lamps will sit. |
| “SEN” or “MS” | Motion sensor | Excellent for robes, pantries, garages and outdoor zones; usually needs to be requested. |
Here is the uncomfortable truth about most standard electrical plans: the lighting hasn’t been designed. It has been distributed. A drafting formula places downlights in an even grid across each ceiling, adds one switch per room by the door, and moves on. Downlights are the cheapest point to supply and install, and a grid needs no knowledge of where your furniture will go. It’s a default, not a design, and it produces the most common lighting outcome in Australian housing: every room washed in the same flat, shadowless light.
The builder-standard plan
- Downlights gridded evenly across every ceiling
- All downlights in a room on one switch
- One switch position, beside the door
- No dimmers, or dimmers as an unmentioned extra
- Pendant points centred on rooms, not tables
- No wall lights, no strip lighting, no sensors
- Identical logic in the bedroom, kitchen and theatre
A designed plan for the same rooms
- Fewer downlights, positioned for benches, art walls and task zones
- Task and ambient circuits switched separately
- Two-way switching in halls, stairs and bedrooms
- Dimmers on living, dining, bedroom and bathroom circuits
- Pendant points set out from the furniture plan
- Wall lights carrying the evening ambience
- Strip light detail in kitchens, robes and niches

Room by Room: What to Check Before You Sign
Kitchen: the hardest-working lighting in the house
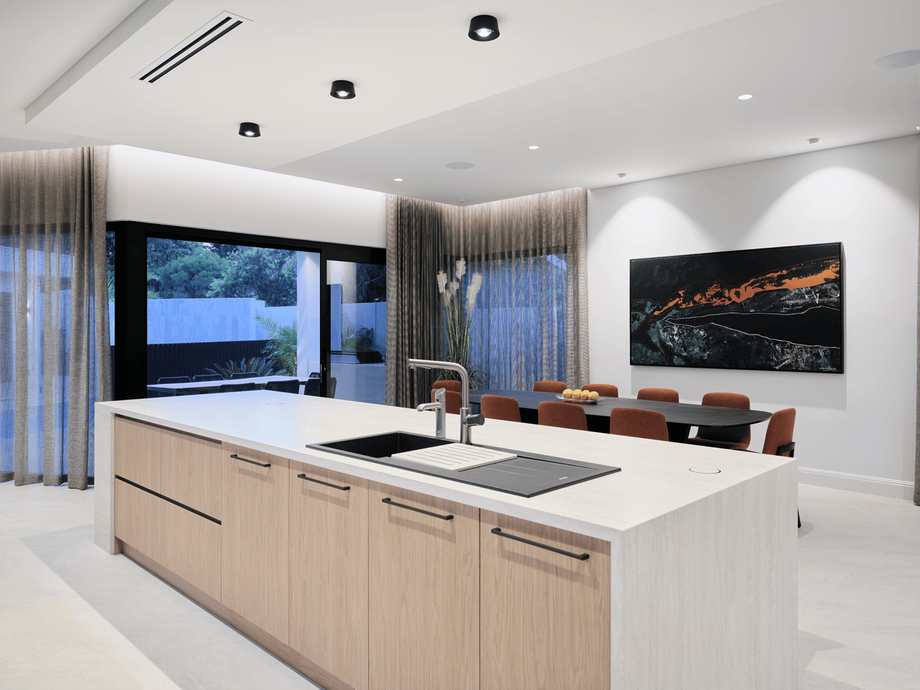
- Downlights over the front edge of benchtops, not the walkway behind you, or you’ll work in your own shadow at the sink and cooktop.
- Pendant points centred on the island, set out from the cabinet drawings, not the room outline. Our pendant sizing guide covers counts, diameters and heights.
- Under-cabinet strip for the benchtop against the wall: the best task light in the kitchen, and almost never on a standard plan.
- Three circuits: island pendants (dimmable), general downlights, under-cabinet strip. If the kitchen opens to living space, keep those zones independent.
Open-plan living and dining: the zone-switching problem
- The dining pendant point centred on where the table will sit, which is rarely the centre of the dining zone. Bring your furniture plan and measure.
- Living downlights reduced and pushed toward the perimeter or feature walls. Light on walls makes a room feel calm and larger; light straight down onto the sofa makes it feel like an office.
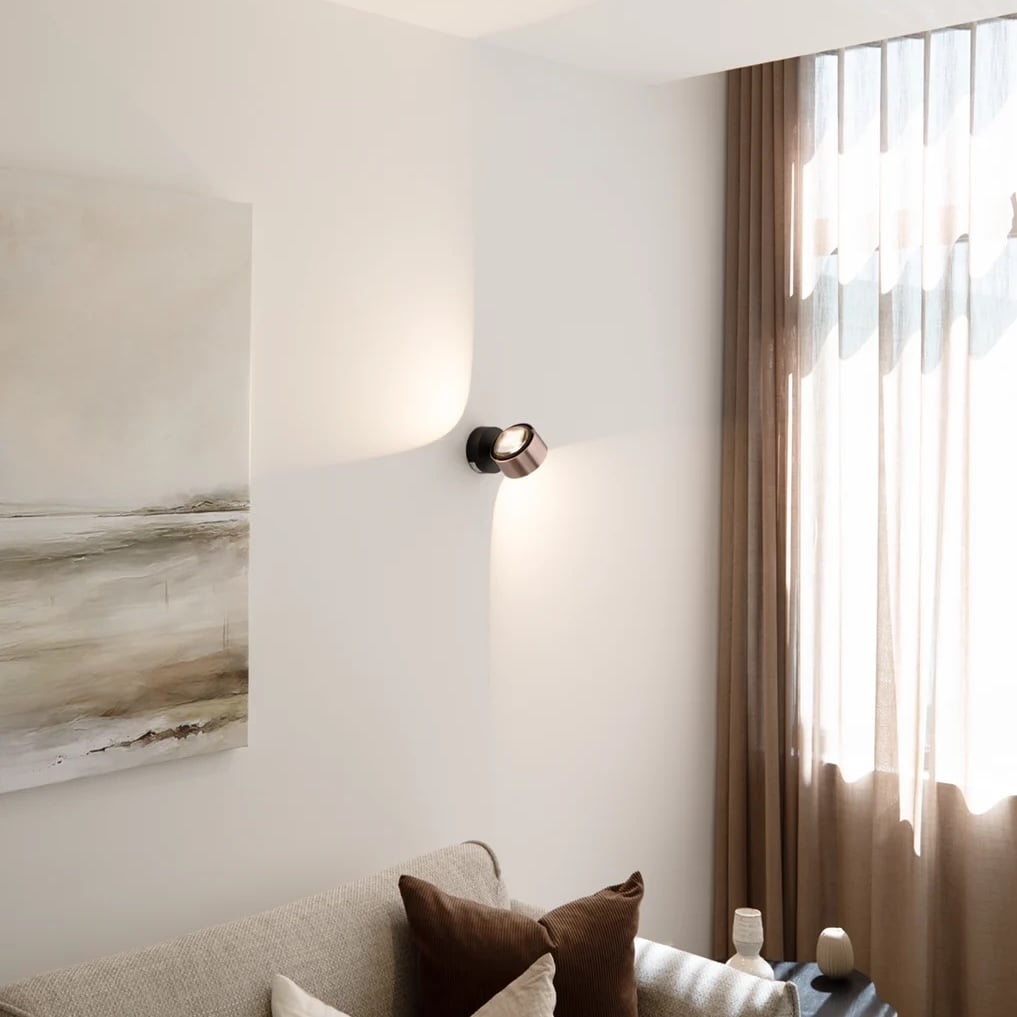
- Wall lights on their own dimmed circuit will do more for this room after 7pm than every downlight combined.
- At least three separately switched circuits across the zone, dimmers on all three.
Main bedroom: switches where your hands will be
- Two-way switching: door plus bedside, ideally both bedsides.
- Bedside wall lights or small pendants either side of the bed head free up table space and put light where you read.
- The ceiling point on a dimmer, or deleted entirely in favour of perimeter and bedside light. Plenty of well-designed bedrooms have no centre ceiling light at all.
- A sensor-switched light in the walk-in robe, so it works with your arms full.
Bathrooms: light for faces, not floors
- A single downlight over the basin lights the top of your head and shadows your face in the mirror. Ask for wall lights beside or above the mirror, or a lit mirror with its supply positioned correctly.
- The exhaust fan switched separately from the light, so it can run after you leave.
- A dimmer in the main bathroom and ensuite: a dimmed bathroom at 11pm is a small daily luxury that costs almost nothing to include.
- Your electrician must match fitting IP ratings to bathroom zones; your job is only to make sure the points exist where you want them.
Hallways, stairs and the entry: circulation lighting
- Two-way switching at both ends of every hallway, and top and bottom of every staircase. Non-negotiable: a single switch at one end is a design error you’ll repeat nightly.
- Step or low-level wall lights on longer flights, and confirm nothing hangs into stair headroom.
- An entry point that can take a modest statement fitting, with a switch reachable the moment you walk in, alongside the outdoor entry light switch.
- A sensor for the garage-to-house entry, where your hands are usually full.
Outdoor zones: the layer everyone forgets at pre-start
- Standard plans typically show one wall light per external door and nothing else. Conduits for garden and facade lighting cost very little to rough in during construction and a great deal to trench in afterwards. The cheapest future-proofing on the whole plan.
- Alfresco lighting on a dimmer, switched from inside near the sliding door, plus weatherproof power points.
- Facade and gate lights positioned for the architecture, not centred on doors by default.
- Coastal builds: corrosion resistance matters as much as wiring. See Surviving the Salt and our outdoor lighting range for fittings specified for these conditions.
Circuits, Switching and Dimming: The Invisible Layer
Symbols show where light comes from; the dashed arcs show how it’s controlled. Control is the difference between a house that has lighting and a house that has moods. Trace every arc from each switch: on a standard plan you’ll usually find one arc per room sweeping every downlight into a single group, which means the room is either fully on or fully off, forever. The four requests that transform a plan:
- Separate task from ambient in every major room: kitchen bench apart from kitchen general, island pendants on their own, living feature apart from living general.
- Dimmers where evenings happen: living, dining, main bedroom, bathrooms, alfresco. Trailing-edge dimmers suit most quality LED fittings; mismatches cause flicker.
- Two-way switching wherever movement crosses a room or corridor.
- Sensors for robes, pantry, toilet, garage and outdoor paths.
If you want scene control (one button that sets the living zone to “movie” or “dinner”), decide at build stage. Systems such as Casambi add wireless scene control over standard wiring, while wired systems like DALI must be planned before rough-in. Either way: circuit separation and dimmers first, scene control second. The first is wiring and can’t be added later cheaply; the second can.
The Pre-Start Appointment: How to Run Your Hour Well
Bring with you
- A furniture layout, even hand-sketched: bed positions, dining table, island, sofa, desk. Nearly every lighting decision hangs off furniture position.
- A marked-up copy of the electrical plan with your changes drawn on, prepared at home in the days before, not invented in the meeting.
- Spec sheets of any fittings you’ve chosen, because pendant points, wall light heights and dimmer types depend on the actual fittings.
Ask these questions
- “Which points can I reposition at no cost, and what does each additional point cost?” Get the per-point rates before making decisions, not after.
- “Can I supply my own fittings or upgrade through you?” Policies vary, and decorative fittings are where supply-your-own makes the biggest difference.
- “Which circuits are dimmed, and what dimmer type is used?”
What a Really Good Plan Looks Like
Pull back from the detail and a well-designed plan has a recognisable character. Score yours against these five marks:
- The lighting follows the furniture. Nothing is positioned “because it’s the centre of the room”.
- Every major room has at least two layers. Something overhead for function, something at eye level or below for atmosphere.
- Circuits separate task from mood. You can light the kitchen bench without lighting the whole zone.
- Switches are where hands are. Walking back across a room to a switch never happens.
- The outdoors is wired for the future. Conduit in the ground for the garden lighting you’ll add in year two.
Very few standard plans hit even two of these. All five are achievable at pre-start for a fraction of what any single room’s furniture will cost, and unlike the furniture, the wiring is forever.
Bring us your plan before you sign it
Our team reviews electrical plans every week for clients building across Perth and Australia-wide, matching fittings, positions and circuits to how each home will actually be lived in. Bring your plan and furniture layout to our Balcatta showroom.
Get in Touch